EGD: Paradise Beauty Lounge Nail Salon

Last year, Lash Paradise Beauty Lounge began transitioning to a more concise name, Paradise Beauty Lounge, in anticipation of the grand opening for the lash salon side that opened in 2020 and the nail salon which opened in 2022. While the name isn’t finalized due to some further research and needing to be done to make it happen, the name is appearing in different places online and in print.

Recently, Torianna Paradise, the owner/operator of Lash Paradise/Paradise Beauty Lounge, approached me and asked me to revise the signage we did for them to reflect the expansion of the lash salon to include the nail salon.

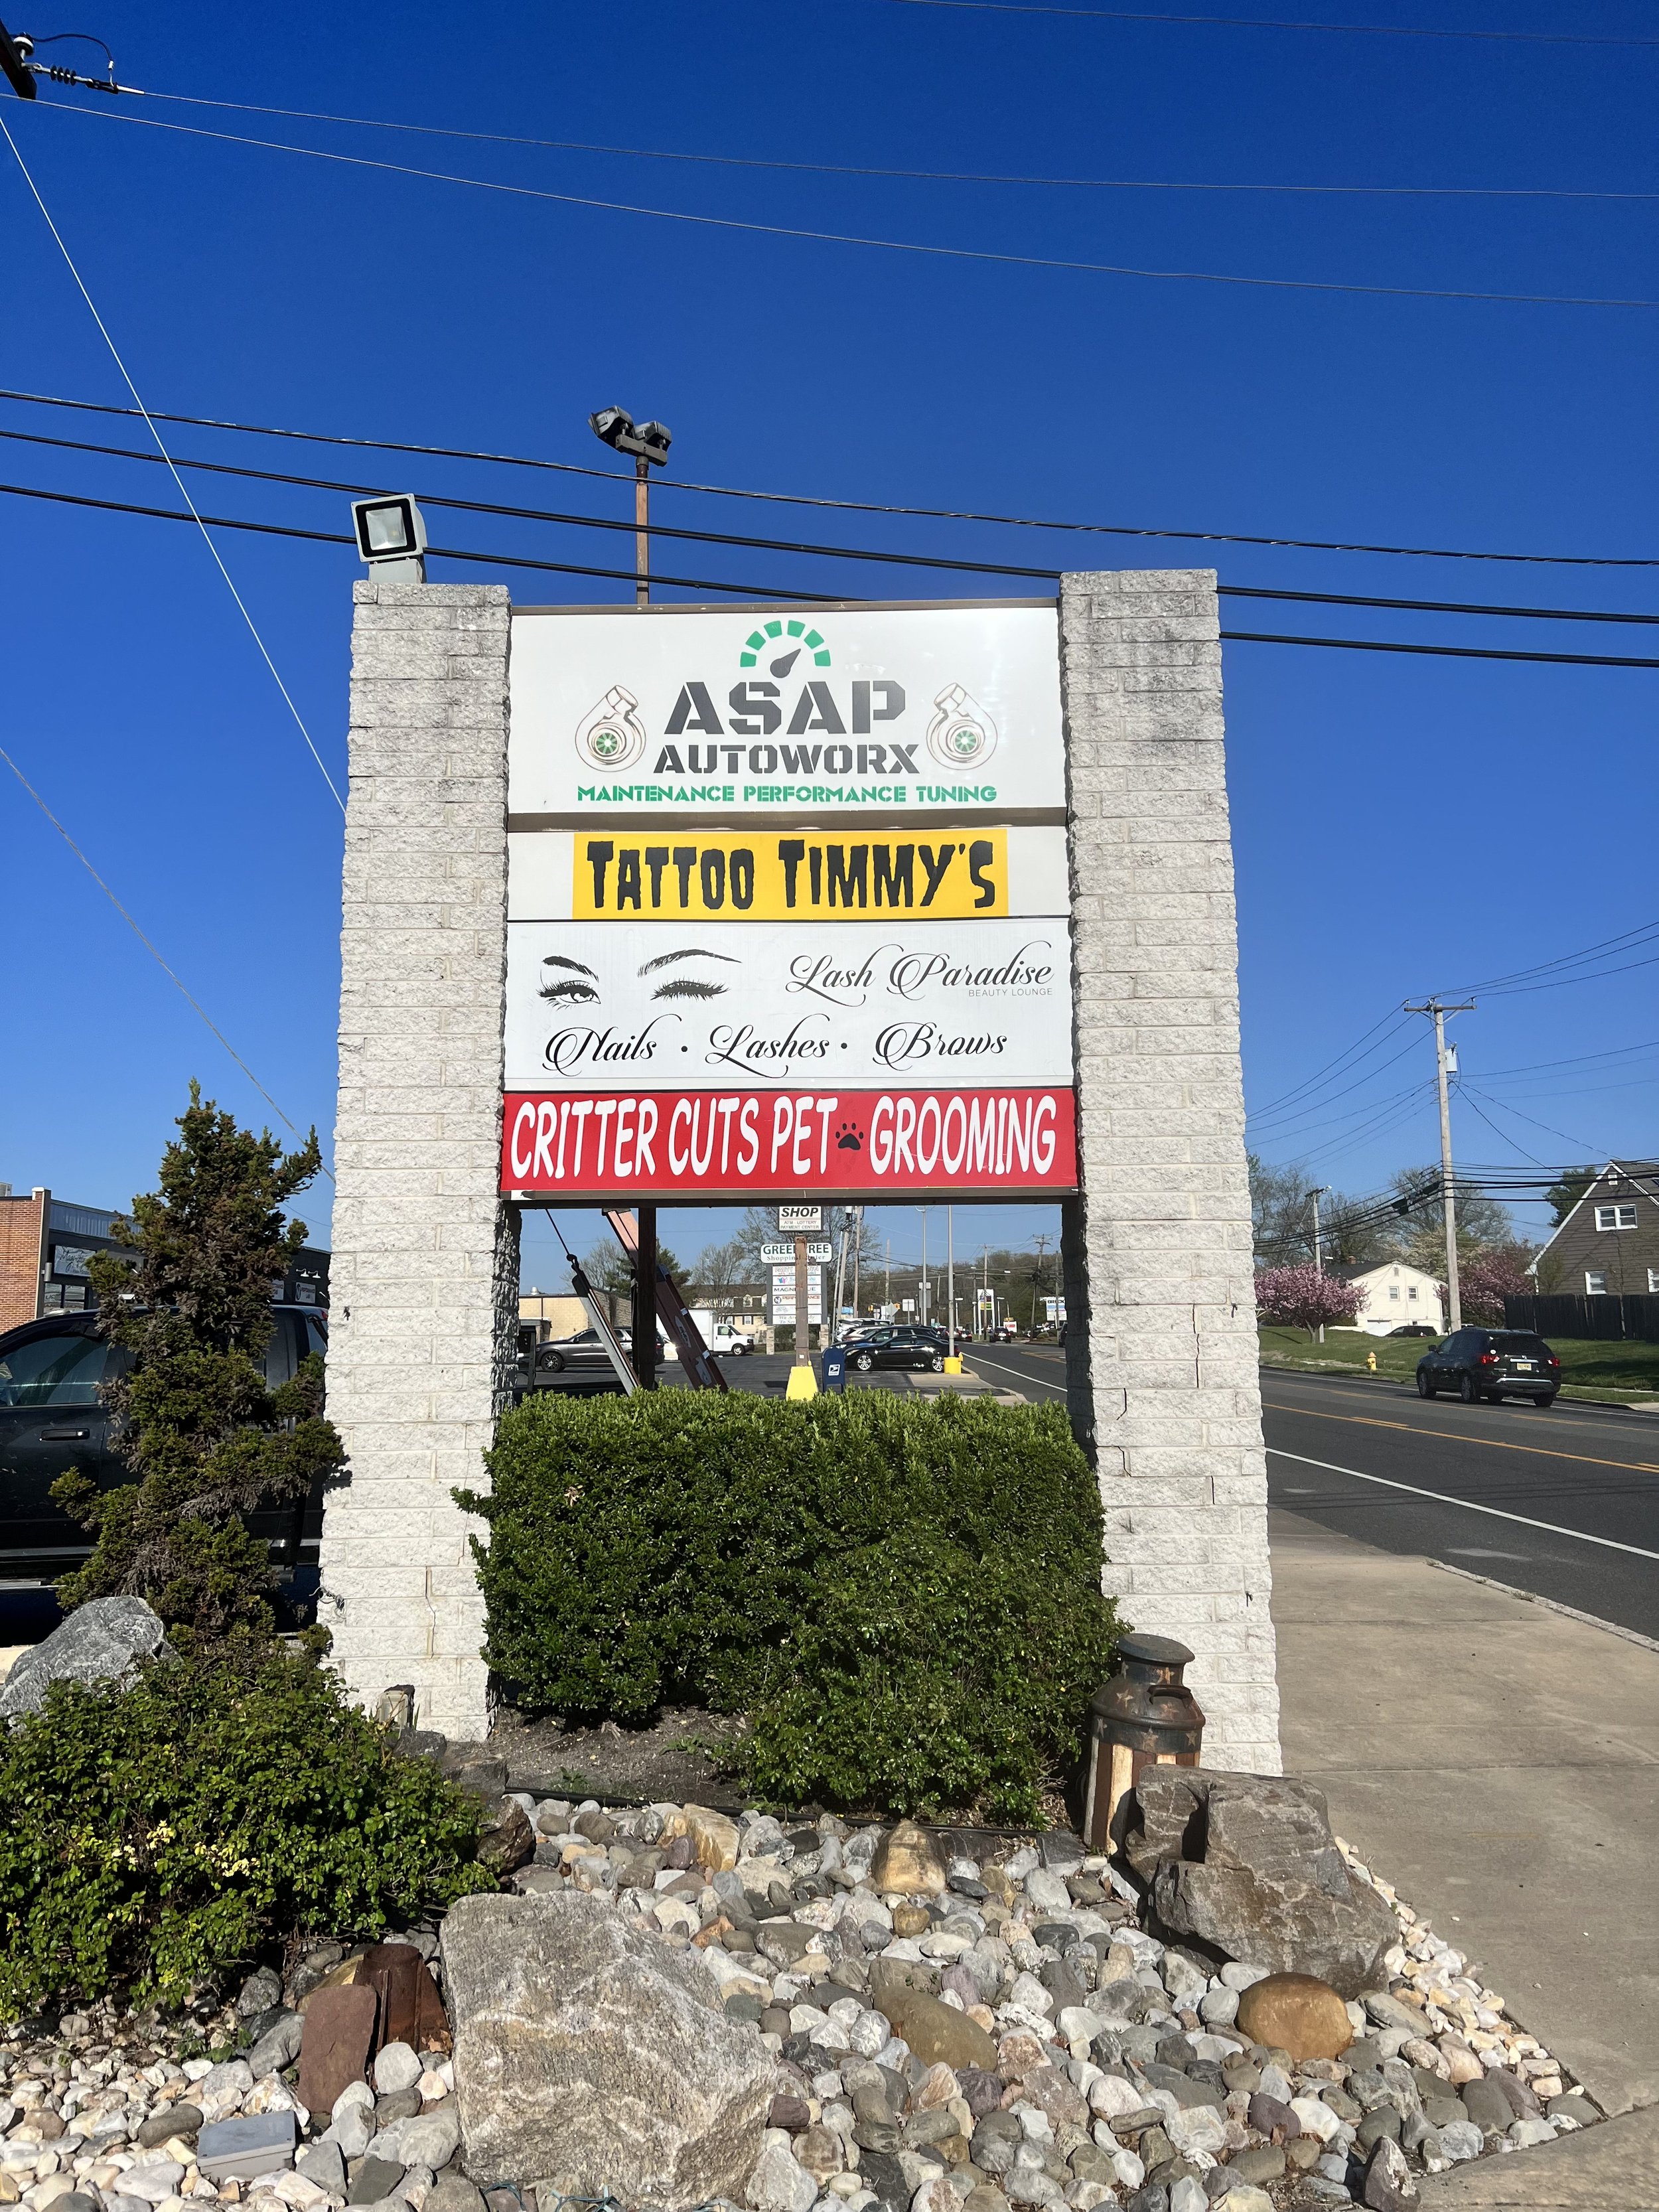
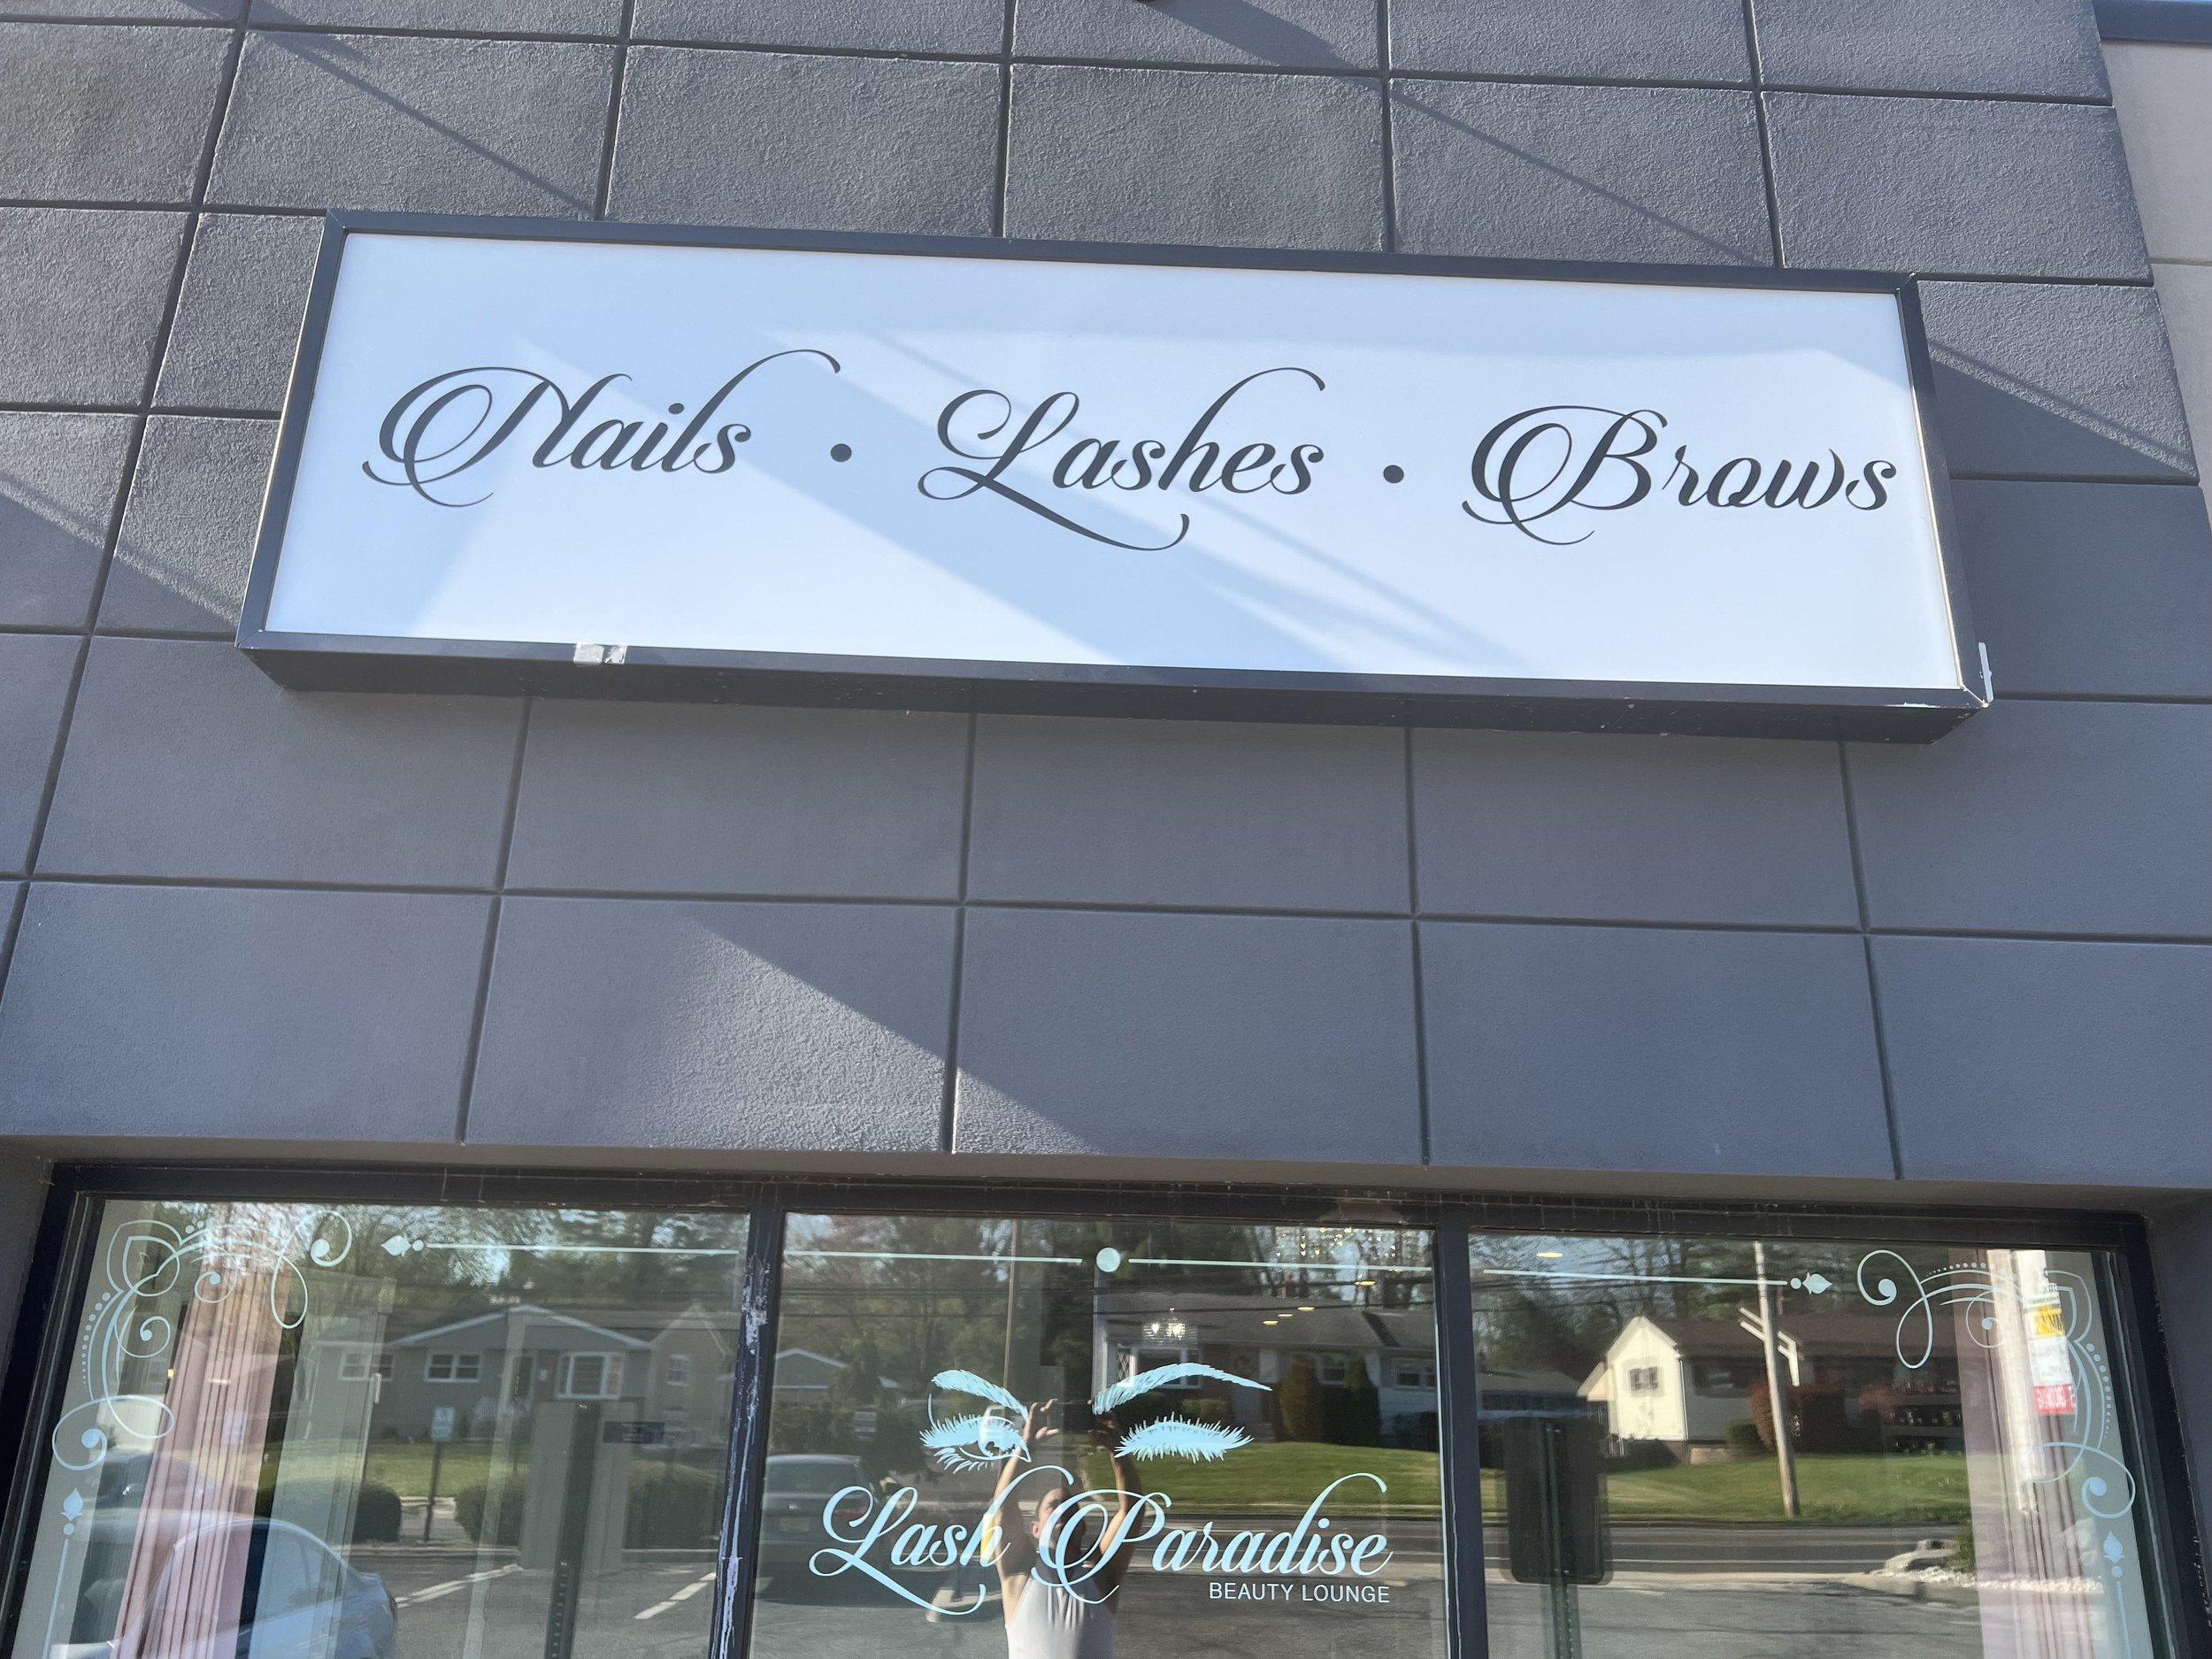
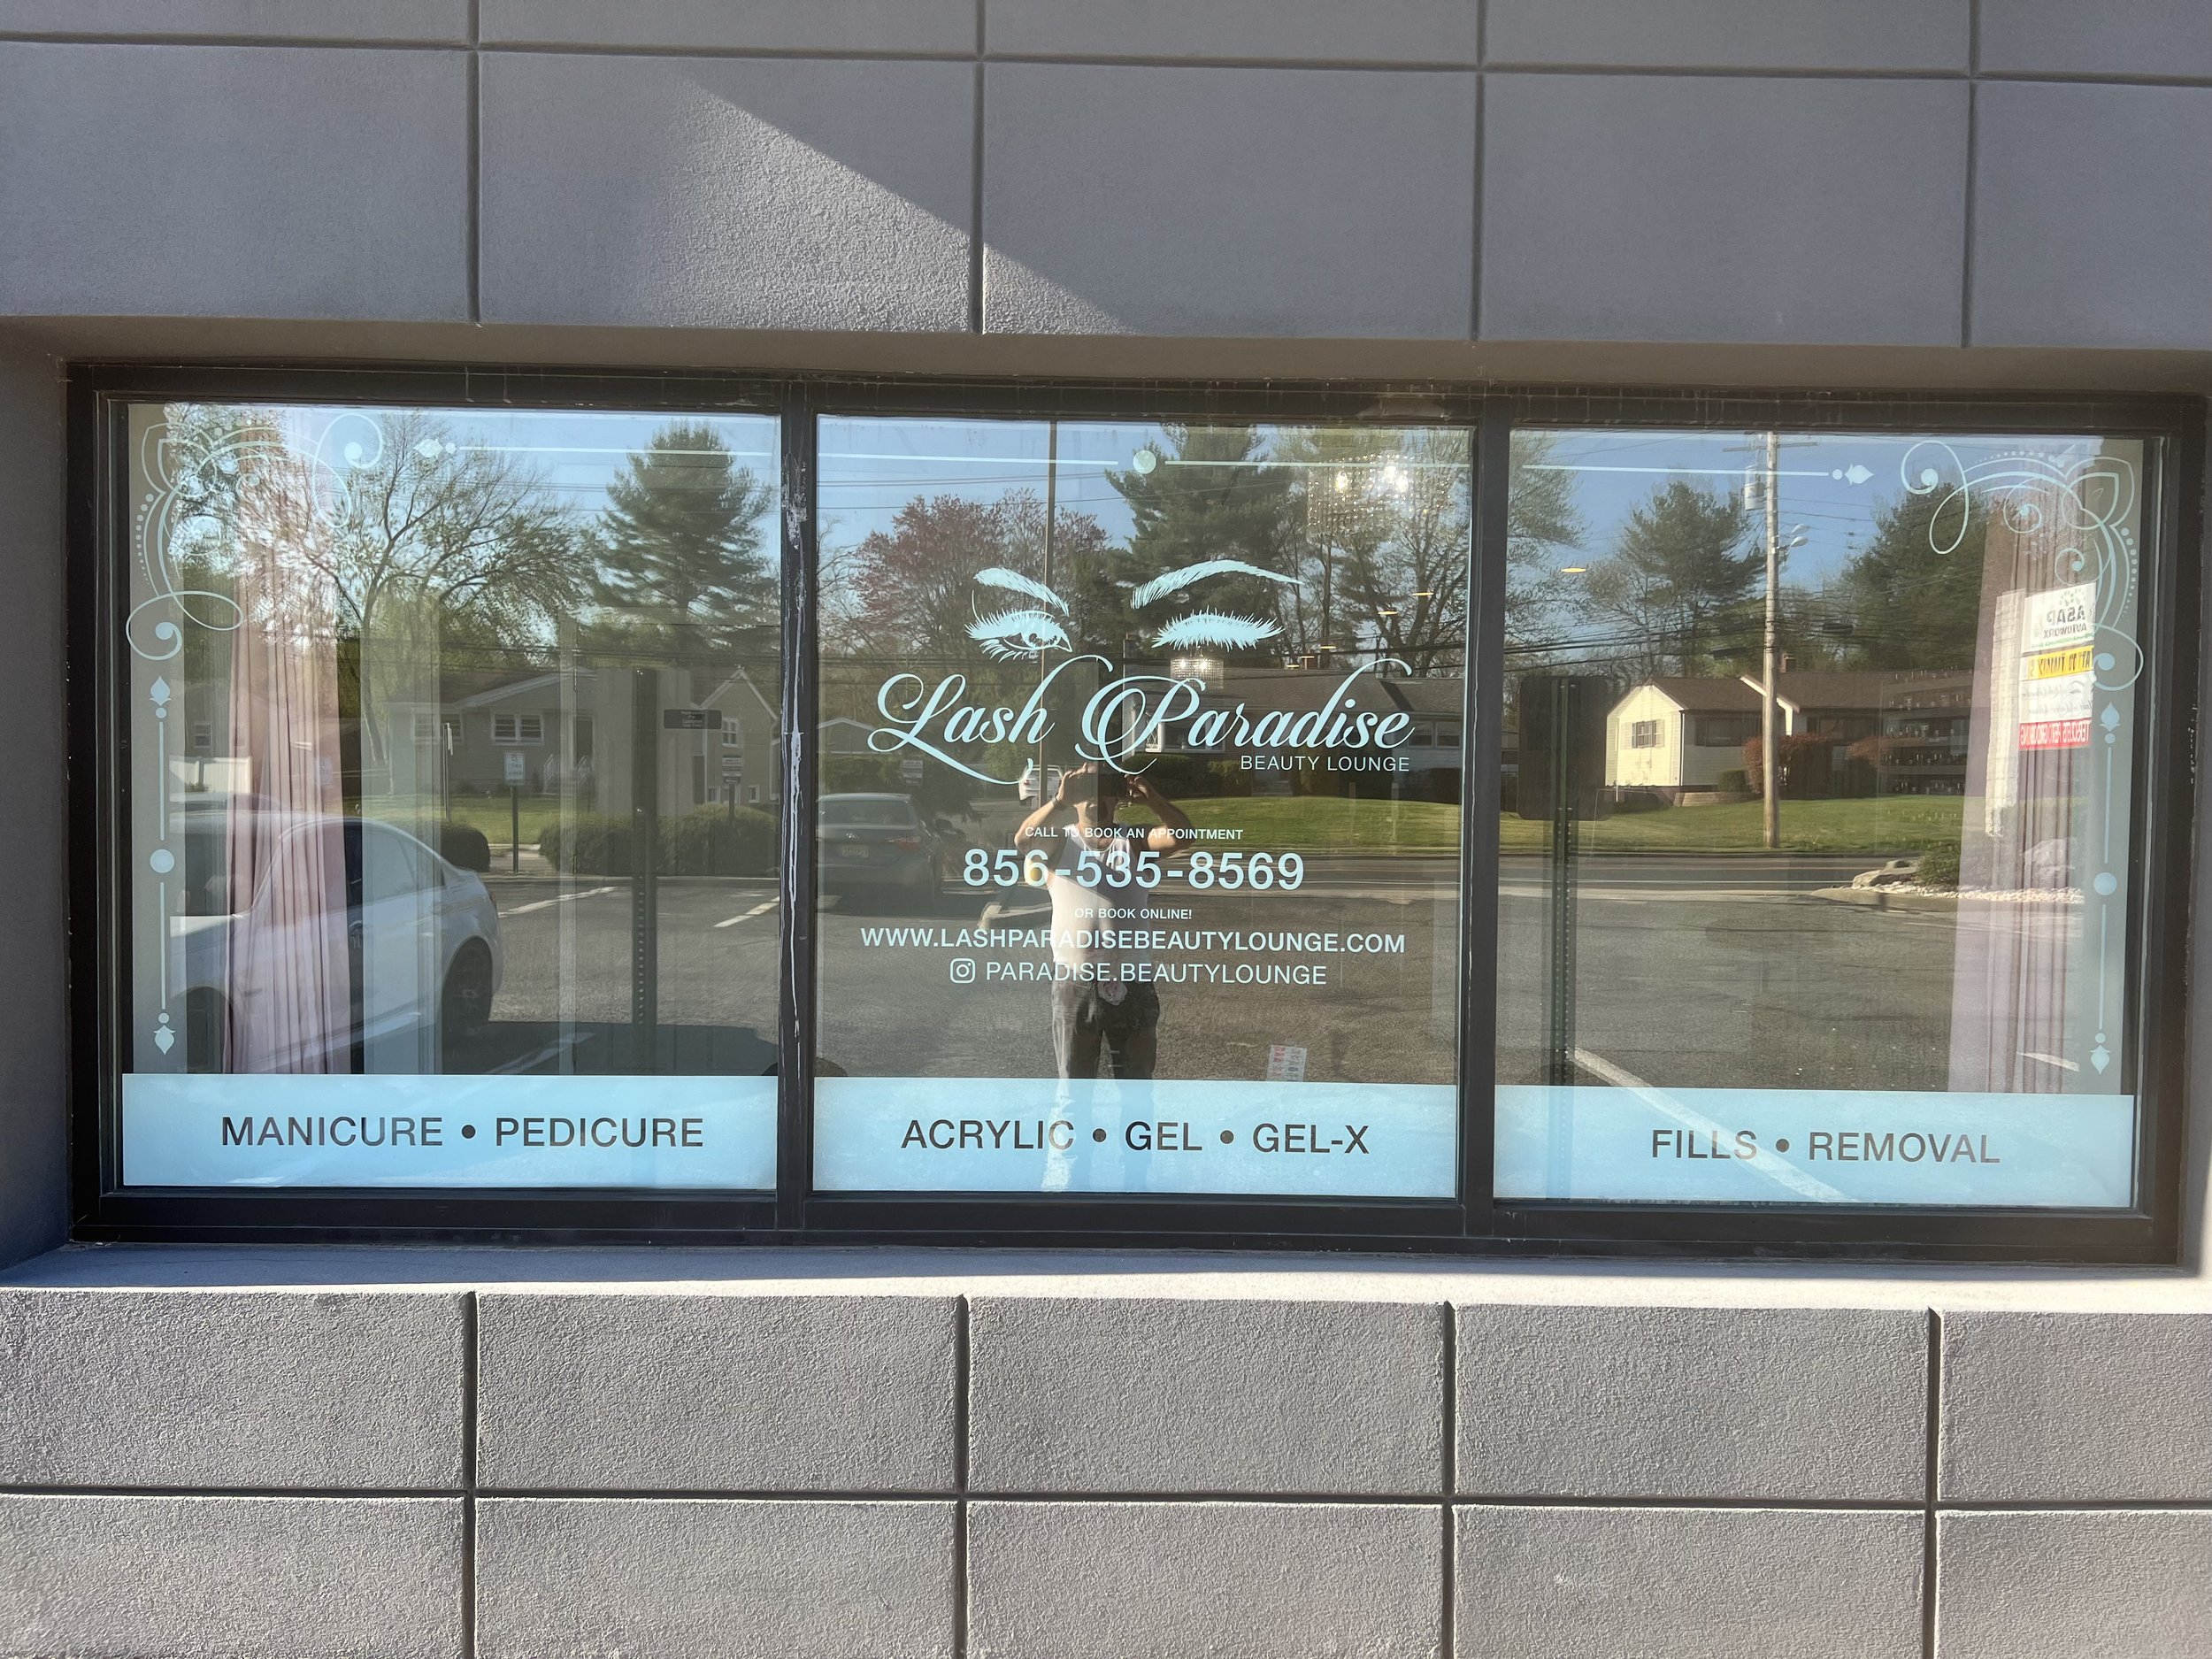
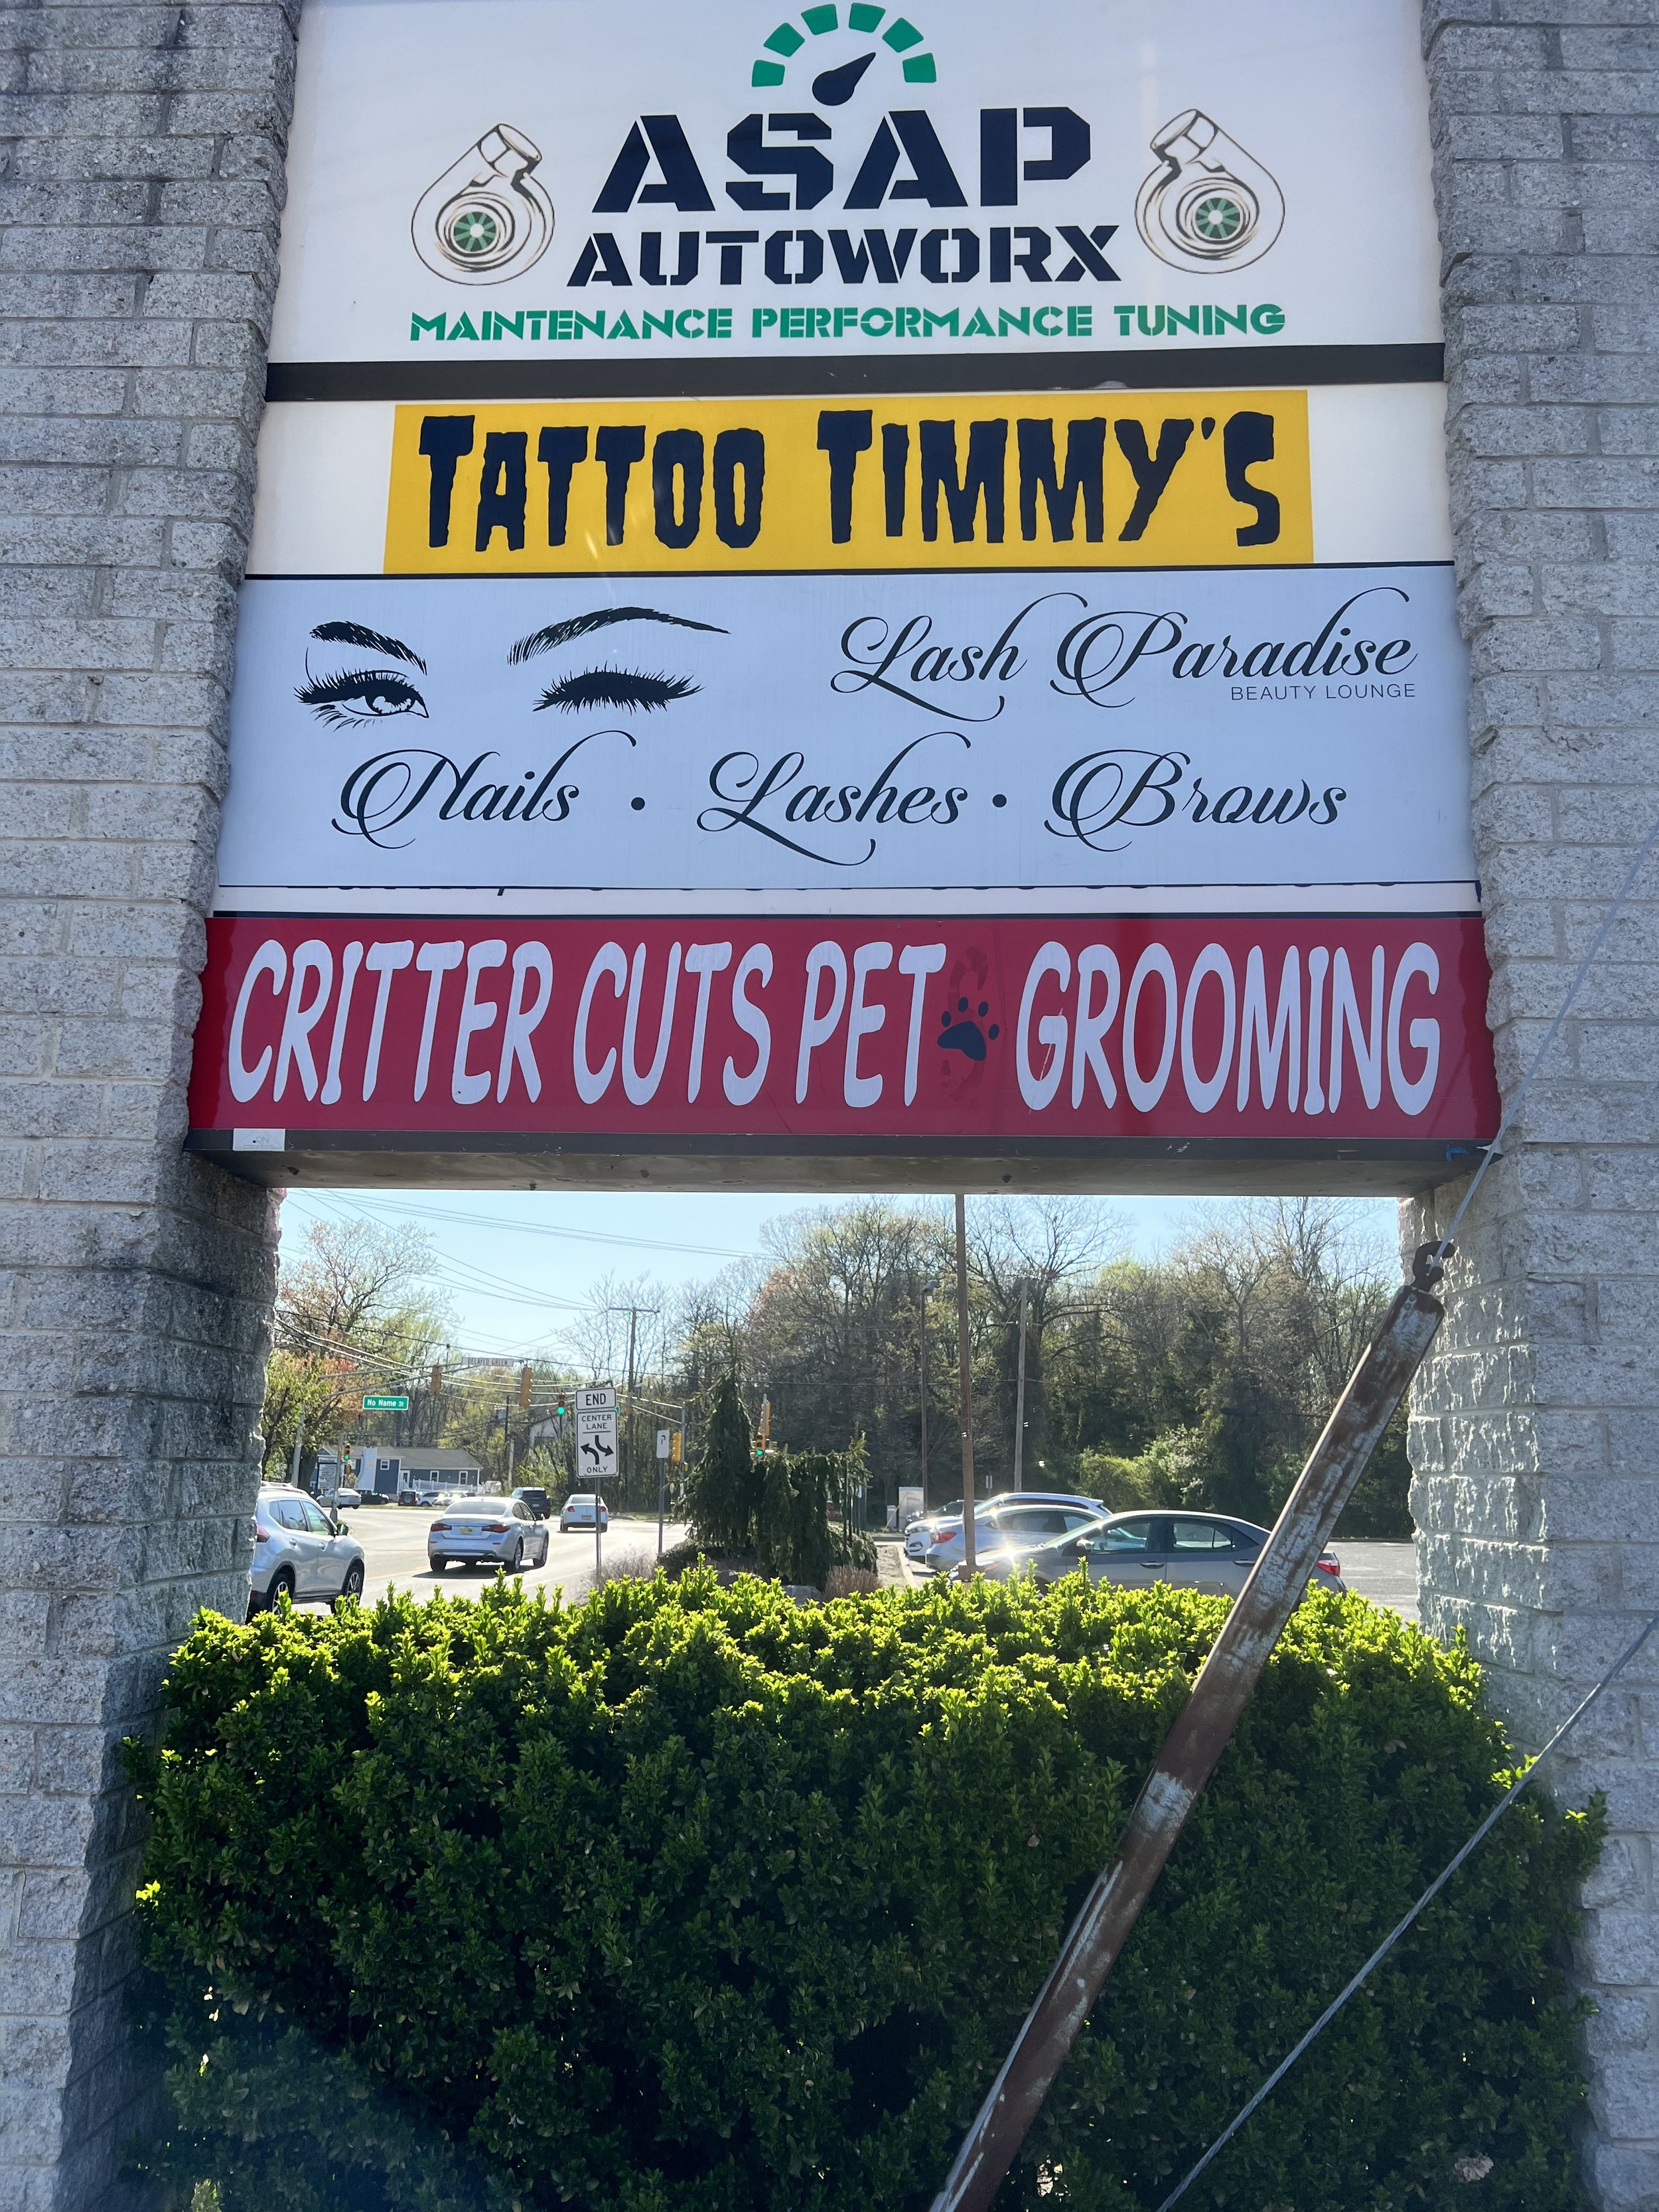
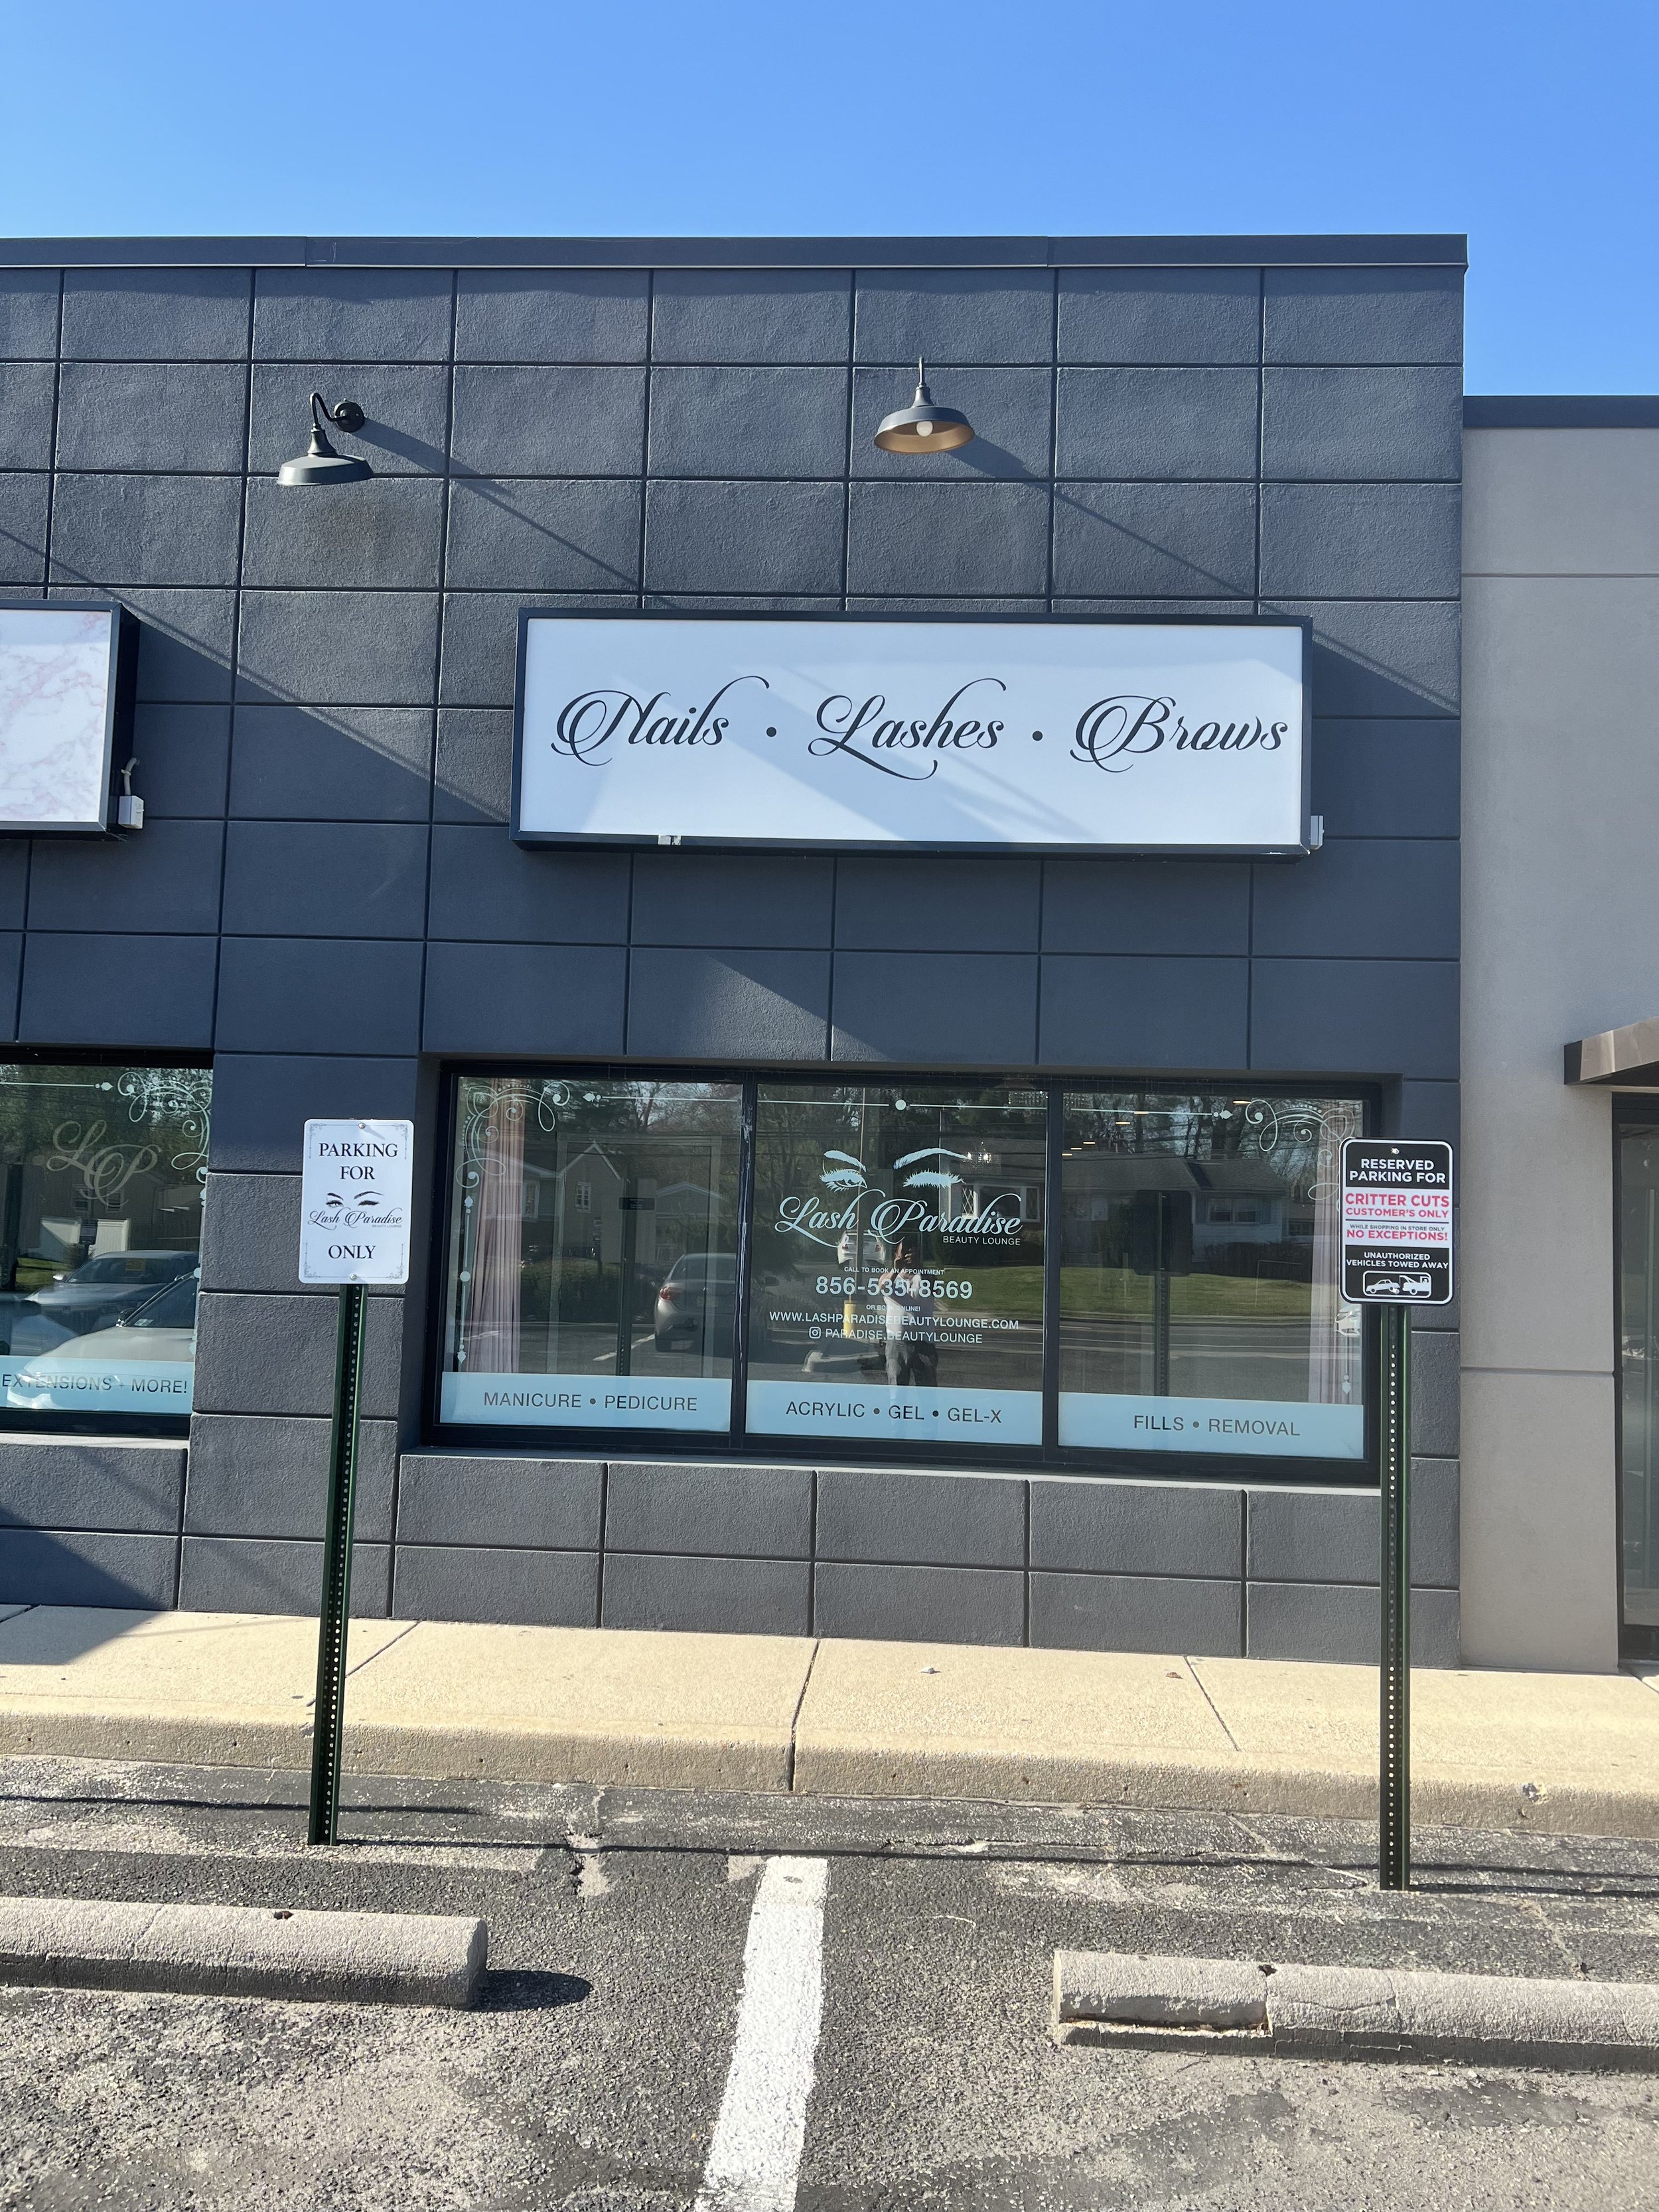
Below are the install photos from what we did. The nail salon windows had the same treatment as the lash salon side, right next door, and the listing of the main services were included in the building and pylon signs.

If you’re looking to make an appointment to get your lashes, nails, or brows done, visit their website to book an appointment!

Good Seasons: The Fresh & Convenient Alternative to Traditional Salad Dressing

By changing the core messaging and positioning of Good Seasons from being a delicious dressing mix for your family to excite their dinner salads, we turned it to it being a delicious all-purpose seasoning mix here for your convenience. We played on the low cost and ease of use of the product to pitch our ideas. Although we understood nostalgia played a big part in the percentage of the target audience who was already hooked, we needed to leverage that to give the brand edge—not your mom’s good seasons! We harped on the fact Good Seasons’ packaging and logo was in dire need of an upgrade and its overall presence needed to broadcast much further than just on the store shelves.

Read more

Logo: LAR Services

When you’re a graphic designer, everyone you know will usually come to you for any “creative work” they need. Sometimes it’s dumb, other times it’s fun. This is one of those times where it was fun.

My boyfriend, Luis, during the initial quarantine period last year, experienced a lay off from his job. While home, he decided he wanted to invest in something that would eventually pay for itself: a tractor.

One day, he says to me, “guess what I just bought!” and shows me a picture of what I call a “big, orange bug”. He bought this beautiful, bright pumpkin orange kubota (the actual color is “Kubota Orange”—so innovative, so creative) tractor as well as some accessories for it. That entire week, he rode around in it, built a new shed for his pieces, cleared a section of his yard so we could start a garden, and started telling his friends and family to spread the word. It was decided using this tractor would be a side hustle for him, which was good for some sort of income while unemployed, even if patchy.

With this decision, he wanted to make it a little more professional. Together, we worked on a logo, and put that logo on business cards, signs, and magnets he put on his truck.

His vision was to incorporate both his new toy and the color. He also made it clear that he did not want the tractor to be orange, because he was afraid it wouldn’t stand out enough.

We went through a few (read: several) ideas at first. None of them really spoke to him or how he felt his new venture should be portrayed to a tee, but he did have some partial feelings to a couple. He also insisted the word “backhoe” be used so people had a specific idea of what services he actually offered and that he was not just a handyman.

Although I no longer have these printouts we pinned up to show, I still have the digital version. He circled a couple from this initial round and we took it from there. What we came up with was kind of simple, but was exactly what Luis was looking for.

We kept the tractor black like the “LAR”, but added an orange ring behind it. The orange signified the color of the tractor, the roundness of a circle reflected upon Luis’ well-rounded nature in both his personality and work (despite specifically using the word “backhoe” to identify what he did) and drew attention to the tractor. The words “Backhoe Services” are in a beautiful charcoal gray to avoid too much black logo, and to let the “LAR” (Luis’ initials) and the tractor stand out, thus becoming the key identifiers in the logo.

Copy styles and choices in black and white.

Copy styles and choices in black and white.

Color version of the logo: vertical, horizontal, icon, and logotype.

Luis’ first time using the tractor to try and dig up the surface of the yard before tilling for us to start our garden.

Once Luis signed off on the logo, we went to work making other things for him to get started with: business cards (home-printed to see how it goes), a sign for his garage, and a set of magnets for his truck.

With the signs and the business card, Luis wanted to take it a step further and add on key words that let people know what he can do with his tractor: auger, backhoe, brush hog, and loader—attachments he has for the tractor to get different things done. Over the winter with each snowfall, he was able to go plow for different local businesses, as people began to refer him via WOM (word of mouth).

As things begin to pick up for him, and he feels like he can really make a living with it, he will start to look into making it into an LLC, get real business cards printed, and maybe even find an office space. But for now, we’re just working simply and enjoying his new toy.

I had asked Luis to let me take photos of him holding his business cards for months at this point; by time he was able to let me do it, he already handed out all the good copies of his cards and only had the mistakes left, hence the banding on the one card.

The sign hangs above the garage doors that house the bug.

One of the magnets seated on the door of Luis’ truck.

One of the magnets seated on the door of Luis’ truck.

For anyone in the South Jersey area (for now) looking for work to be done by Luis and his orange tractor, feel free to call the number on the sign, or email the address shown on his card.

Logo: Slayed By J

I was trying to wait before writing an official blog post introducing my latest logo design, as I wanted to take some hero shots of the collateral that comes with it, but the South Jersey-based makeup artist I designed it for debuted the logo and is using it on a lot of her things. I guess because it’s been out in the air for over a month now, I felt like now was a good time to show it off.

Currently, we’re working on some menu handouts for her to give her clients, and I plan on surprising her with some other unnamed things around Christmastime, namely business cards with some gold foil and spot gloss and mayyyybe some stickers.

Anyway, I present to you, Slayed by J:

Shown above are the logo in three of the four colorways. The fourth is an all white version that can be used on dark backgrounds, when appropriate. The one currently being used the most is the pink one I show large.

This design was one of the easier ones to accomplish, as Jocelin (“J”) was very vocal about what she liked, didn’t like, and wanted to see. It makes a design task more enjoyable when you have information and input from the client. After all, they’re paying for it, and there’s no need to drag on a job longer than you need to.

Her vision, she told me, was to use a script face, modern, on a layout that was simple, clean, pretty, and classy. The hardest part, I think, was having to find just the right typeface/font to use for both the “Slayed” and “By J” part. Did I want to use the same for both? Would that be too busy and tacky?

And although we weren’t into the color phase yet, we did talk about it in the beginning, just so I could try to design in my head. One thing that stood out was she asked for glitter in the words. I warned her about using glitter texture in her logo. Glitter looks great on screen, especially if you can animate it, but going to print, it’s not always going to translate well, especially when you’re working in grayscale. It will become too busy and distort whatever it’s on, and because most of the strokes are thin, it would look so weird.

I convinced her using this reasoning, but told her I’d figure something out; thus, the sparkles were designed, used, and were a hit.

I also threw in a version (seen in the screenshot above) that used no script, just sans serif, just to break it up and see if maybe her vision would sway. She didn’t, her wants were adamant.

The final design used an ever-so-slightly altered version of the free font, Andasia, for the script, and Avenir Next in Ultra Light for “by J”.

Moving on to color, we explored a few combinations using colors found on Jocelin’s booking page: dusty pinks and greys with accents of gold and deeper shades of a modest pink.

Originally, she told me during our kickoff meeting she wanted purples and golds, which if I can be honest, sort of fits her personality. After reviewing her own assets, however, she decided on more subtle and classy colors, thus adding that modern chic touch that tied in with what she was already using.

The color round of this project went smoothly and quickly, and we were able to build three palettes: B&W, Gray/Pink, and Gray/Pink with a gold added.

The beauty of this is her colors can change with her tastes while staying within the palettes, so as long as everything else she does stays the same or similar.

Because color is the last step, once this was finalized, I packaged everything and sent it on over to her. From here, we moved into collateral. As mentioned earlier, we’re working on some handout menus for her clients, current and potential.

With these, we’re ironing out final colors and textures. This seems to be the more difficult part, because the size of these is small, and too many things like lines of copy, photos, and backgrounds can really clutter the layout, and then it won’t work. Below is where we’re at, trying to figure out what works and what doesn’t.

I’ll be updating this post as more of the collateral gets finished.

Below are screenshots of where the logo can be seen. And of course, if you’re in the South Jersey/Philadelphia area, you can book with Jocelin to have her slay your look for any special occasion or just because. All services and pricing can be found on her booking site, linked above.

EMCHI Nail Products Color Brochure

EMCHI Nail Products started as a small brand launched from a full-service nail salon in Williamstown, NJ. After a couple years of establishing themselves as both a salon (operating as The Arts Beauty Salon and Spa) and a designer/manufacturer of high quality dip powders, EMCHI found their color portfolio bursting at the seams with 180+ selections.

In order to promote their color offerings, EMCHI approached me to help with designing a new product brochure for them. I visited the salon (pre-COVID) and was handed two items: EMCHI’s current brochure and a custom cut roll fold from a nail lacquer company they use as a supplier. The directions were simple: take the directions from this brochure, put it in a new one with all 180 color swatches and do something like the custom diecut roll fold.

Right.

So over the course of two weeks, I had some back and forth with Nicole, a nail tech at the salon and also one of the managers at Emchi, who was sending me the color photographs piecemeal. Eventually I received all 180 colors, as it was really everyone waiting for the photographer and his editing of the photographs I would also need.

I found designing the diecut version to be really fun and interesting!

Dieline for the original diecut roll fold.

Front, back, and inner-outer flaps.

Inner-most content

About a month later, the product was complete. At the request of Nicole, I reached out to a few printers to get estimates, however it was here we reached a bit of a wall that needed to be climbed over.

The cost was too much. What I had to explain was that for anything diecut, the first run will be expensive, because they have to make the die, but every run after that will be cheaper, so as long as you keep that shape.

They weren’t going for it, and understandably so—it was a big cost. So, to keep the dollar signs down for a bit, we moved to a rectangular format.

Front, back, and outer-inner flaps.

Inner-most content

After all was approved…

I was asked to make it into a square format.

Okay, no problem!

This is the final, final, FINAL version. It’s also the version they include in all orders you make online.

However, it’s already outdated, as they are WELL over 200 colors now and are continuously releasing new products and adding on to the spectrum. They’re rapidly growing and maybe in the future we can revisit the diecut option!

Final front

First fold inside

Inner-most content

Back